Origami LED Lamp
Five LEDs provide just enough light to type by.
After finding instructions for an origami lampshade on the web (via the Make blog), I decided to make one and illuminate it with LEDs. I started with a trip to the craft store to pick up some parts.
Click to embiggen
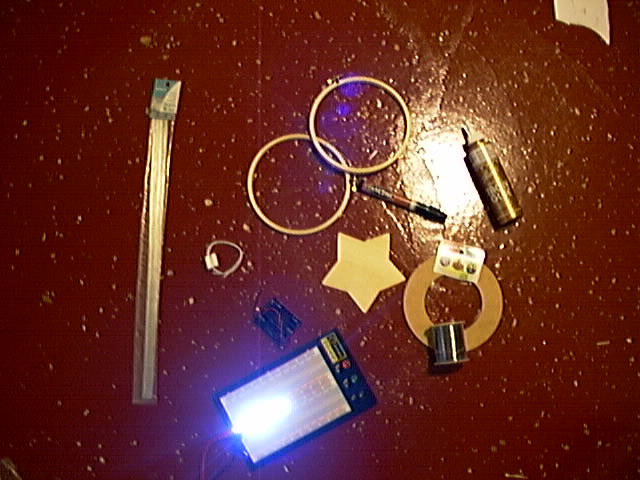
Starting at the top and going clockwise, the parts are as follows: wooden needlepoint hoops (five inch diameter), craft glue, florist's ring (no idea what they use these for, but it happened to be the right size), black hookup wire, bright white LEDs (on a breadboard), florist's wire. The parts toward the center are: a stain marker (just like a regular marker, but with wood stain inside instead of ink), a balsa star shape, a battery holder (for three AA's), and the white loop is a magnetic switch. Not shown: parchment paper and 3/16 inch foamboard.
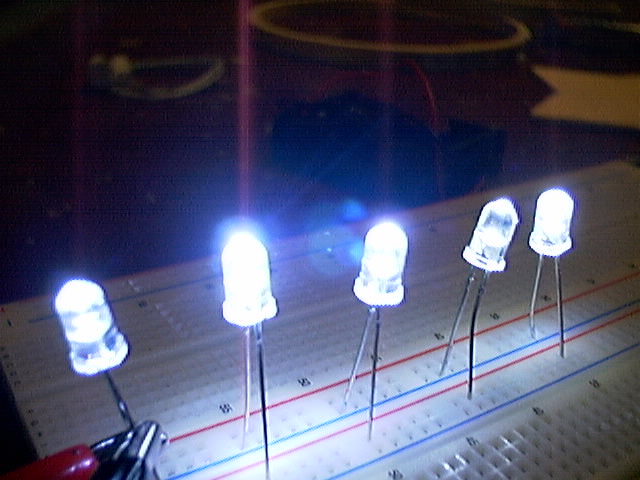
These are "bright white" LEDs from American Science and Surplus laid out on a breadboard, to test the LEDs and make sure they would have adequate power. Remember, the D in LED stands for "diode", meaning that power will only flow one direction through it. The longer wire coming from the LED goes to the positive connection of the power supply.
Click to embiggen
The LEDs are connected in parallel, and the power source is three AA batteries connected in series (4.5 volts).
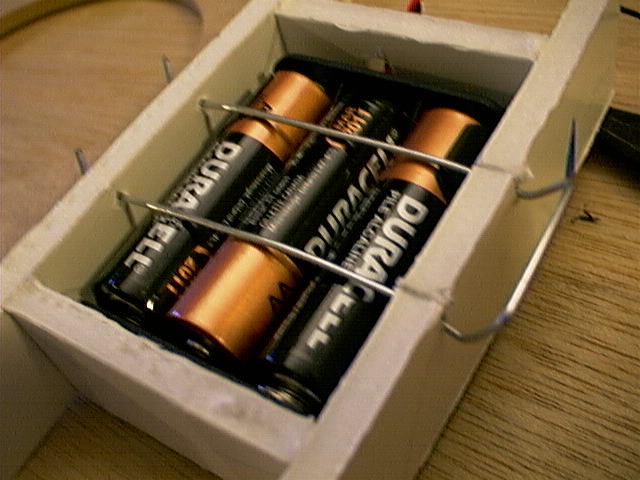
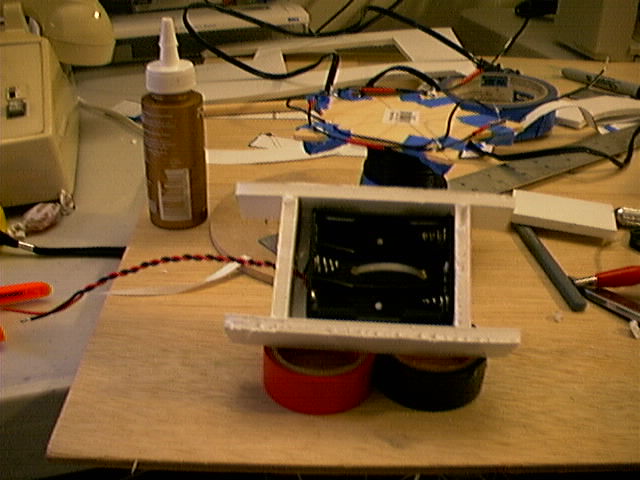
The next step is to build a box to house the batteries using foamboard. Pics: In pieces. Assembled. A clip made from the florist's wire helps hold the batteries in place, which is important because this box will be mounted upside-down.
Click to embiggen
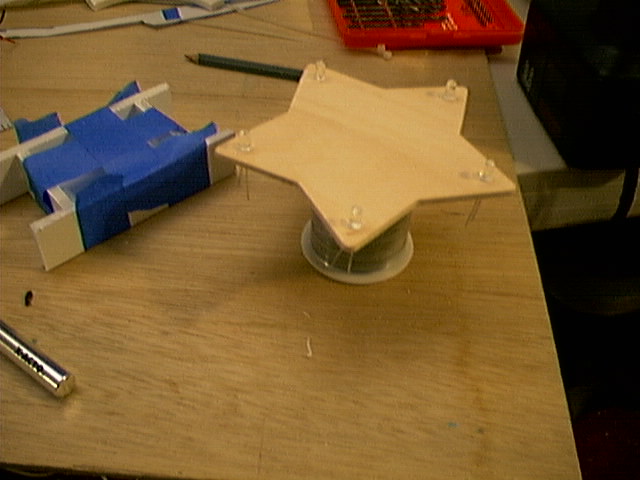
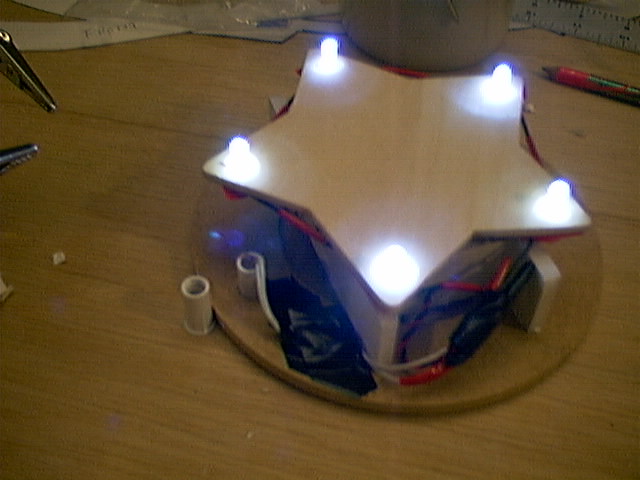
Wiring up the LEDs means mounting them in place and then soldering wires to each one. Why have I mounted them on a star? Well, my first choice would have been a disk, but I couldn't find one of the right diameter, but since I wanted to use five LEDs, I decided the star shape would be OK. If you're cooler than me, you could probably cut a disk of the right size yourself.
Click to embiggen
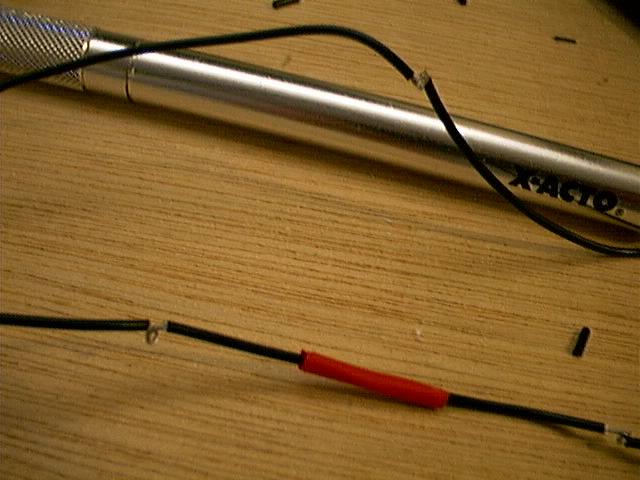
I drilled pairs of holes 1/8 inch apart in each point of the star to drop the LED leads through. Then I used an x-acto knife to strip small sections of insulation off my wires (pic), and I put small loops in the wire. Each loop will slip over an LED lead and get soldered in place (pic). I did not have any red hookup wire, so I "recoded" a black wire with red tape. The electrons don't care what color the wire is, but trust me, it helps avoid wiring mistakes to be extra clear about everything.
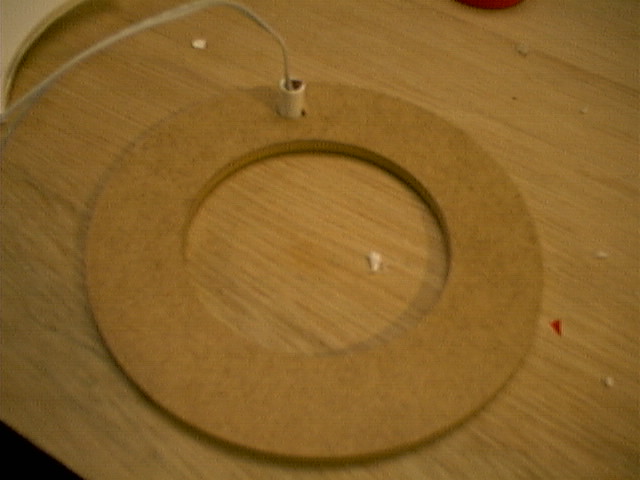
One cool feature of the lamp is its magnetic switch, which I got from Allelectronics.com. The switch closes when it comes into proximity with a strong magnet (included). This means there's no toggle switch to mar the sleek look of this lamp. I can hang the lamp and operate the magnetic switch manually, or I could stand the lamp on its base on table. With the magnet mounted in the table, the lamp would go on when its base was in the right position.

Click to embiggen
In the picture above, I've already drilled the proper size hole to accept the magnetic switch. Next, the switch is pressed into the hole (pic) and the leads are pulled through the other side (pic). Then it's time to glue the battery pack to the base (pic) and solder the switch into the circuit between the batteries and the LEDs. Then test the circuit to make sure everything works (pic).
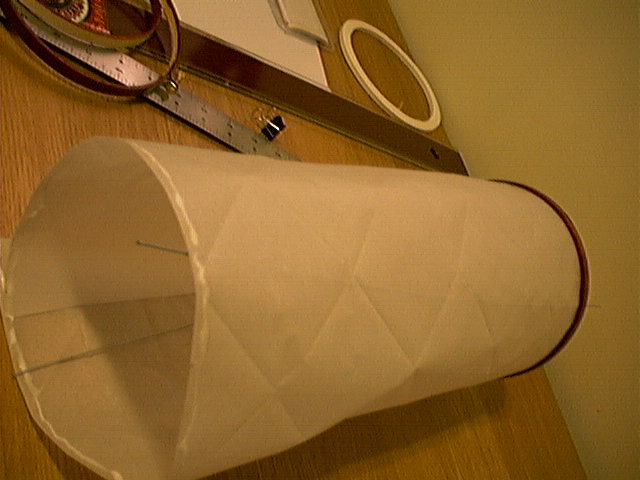
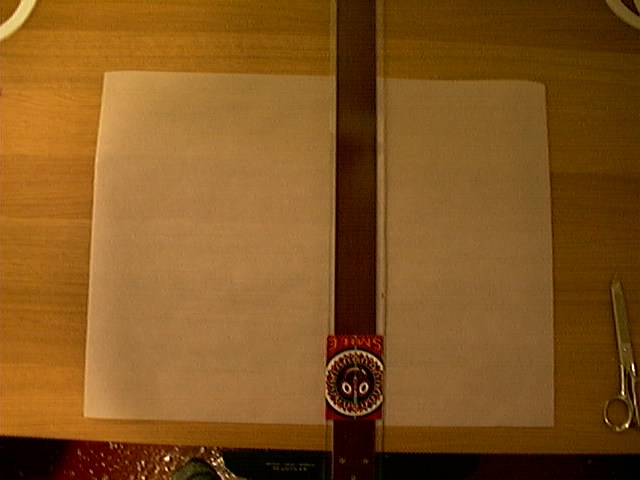
While the glue is drying, the wooden needlepoint hoops can be stained with the stain marker. Somehow, I managed not to take any pictures of this process, but readers with a vivid imagination will have no problem envisioning the process. Wrapping the parchment paper once around the hoop (pic) gives an estimate of how big the sheet of paper should be.
Next we use a fancy T-square (pic) to square up the paper and fold it (pic) according to Yasutomo's instructions. (Sorry, this link is no longer working.)
Click to embiggen
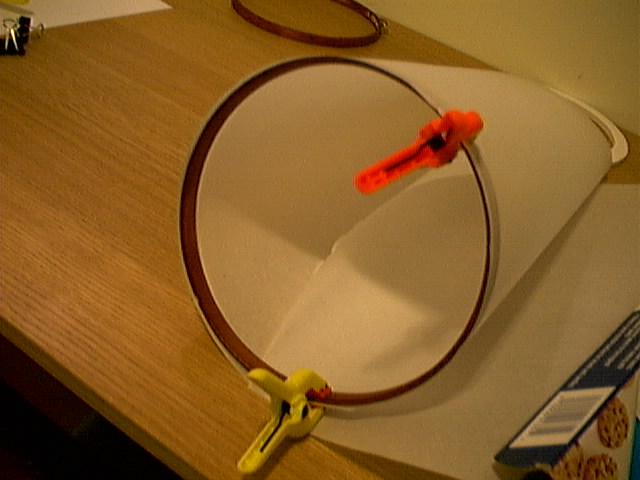
The hoops clamp the top and bottom of the shade. A bead of glue helps keep things from moving around too much. A wire down each side of the shade that is clamped inside the rings helps add strength to the structure. However, this also stretches out the paper, so you don't get those nice, deep creases like you see on the Yasutomo web site. I sacraficed style for durability.
Click to embiggen
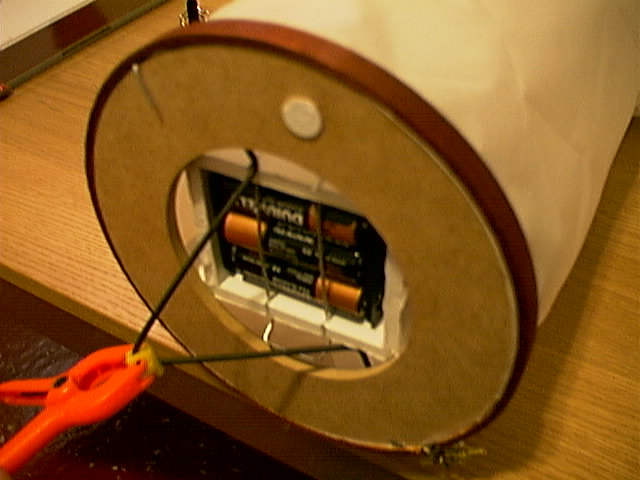
Also clamped into the top ring is the battery/base assembly. A thick wire is bent into a hook for hanging. The lamp hangs from this hook, and the magnet for actuating the switch is fastened to the lamp with a string. To turn it on, I just place the magnet in the right spot.
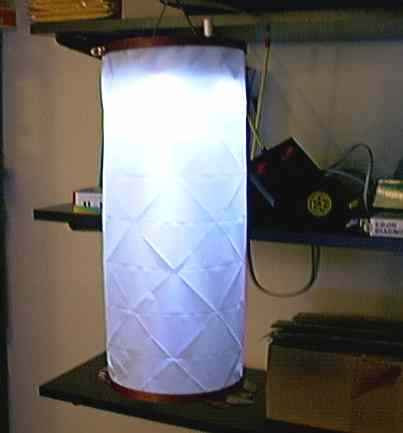
The lamp is not very bright, but it is enough to type by if you mount it directly above your keyboard. If you really wanted it to be a viable light source, you'd probably have to double or triple the number of LEDs, which would probably mean adding a battery or two to increase the voltage. Another alternative would be to make a multitude of identical lamps and wire them to a single switch.

