AC Adaptor Install
I thought it would be easier than it actually was.
This is not a HOWTO guide. It is a HOWI guide. In other words, it's not how to install your AC adaptor. Before you undertake a project like this, make sure you know what you're doing. Consult a professional if you need to.
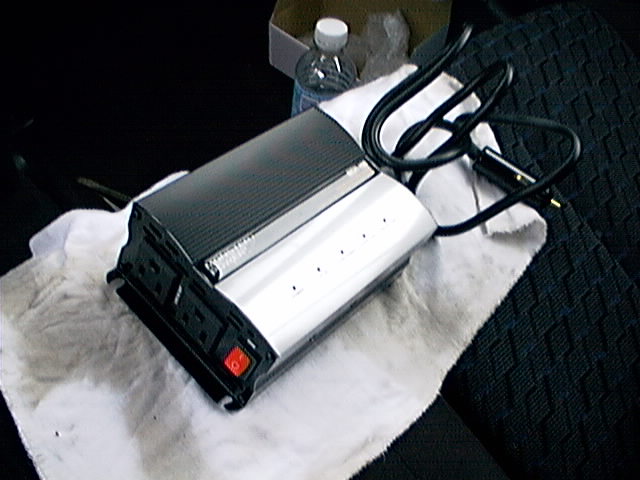
I scored a couple of DC to AC converters on the Web. These are 150 watt units from Monster Cable. My plan was to route the cable through the center armrest console and mount the unit on the back of the console.

Click to embiggen
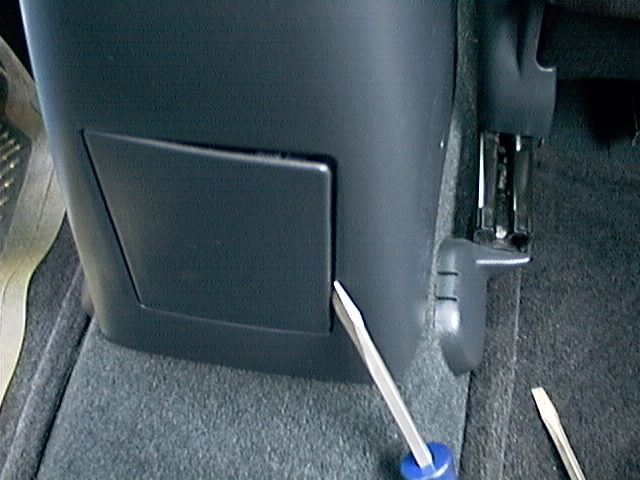
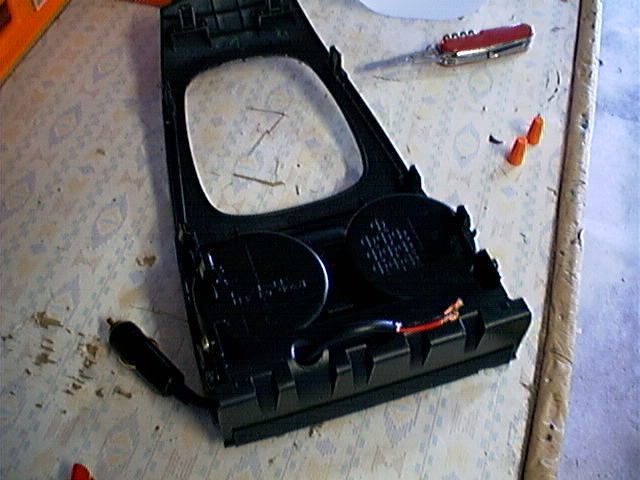
The panel in the back of the console pops right out with a screwdriver. At first, I was hoping the converter would be small enough to bolt onto this panel, so it would be easier to manage, but it was just a little too big.
Click to embiggen
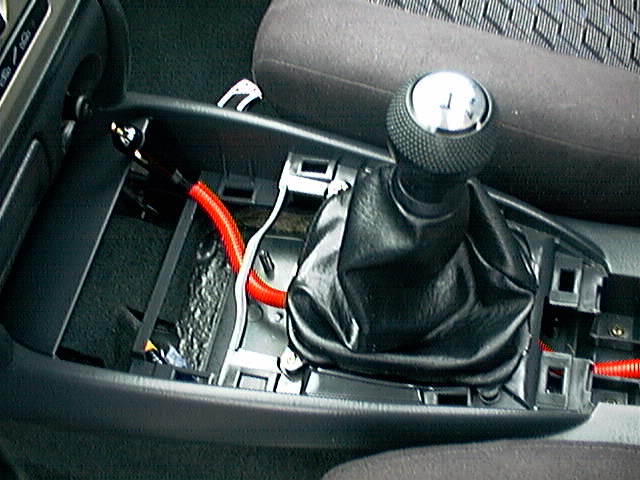
Other panels of the console are removable as well. If you stick your fingers into the slot around the hand brake, you can pull out the plastic panel that surrounds it. Then, you can grab the panel that contains the cup holders and lift that out as well. At that point the whole console is pretty much wide open and ready to route a power cable through.

Click to embiggen
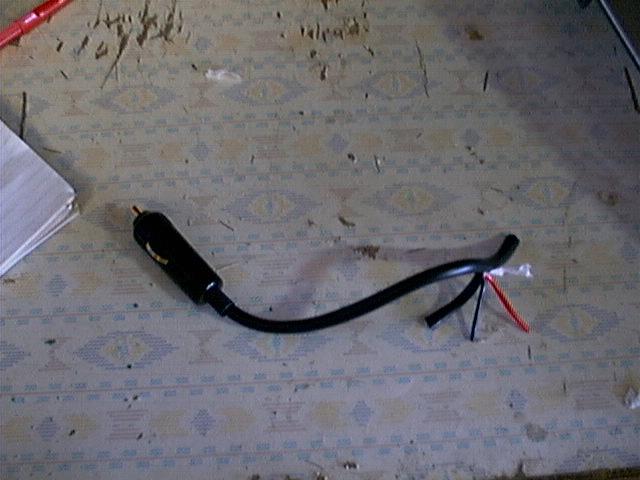
I sheathed the power cable in a red split loom, just because I had it left over from a previous project, and I thought that might protect it from any shifting or rubbing caused by the handbrake or moving the cable around.

Click to embiggen
Next, I snaked the cable through the console and brought it up to the front where it could plug into the cigarette lighter. I had initially hoped I could just snap all the plastic pieces back together, bolt the adaptor to the back of the console, and be done. But this was not to be. First of all, the power cord was just a little too short. Secondly, I wouldn't be able to snap the cup holder bak in with the cord in the way.
Click to embiggen
Therefore, it was splicing time!
Click to embiggen
I also figured out that I was going to have to drill some sort of hole in the bottom of the cup holder for the wire to come through. Here, I got lucky in two ways: first, now that I'd cut the cord, it was smaller diameter to pull through the cupholder. Second, and amazingly, Mazda had, for some reason, provided a hole of the exact size and location that I needed!

Click to embiggen
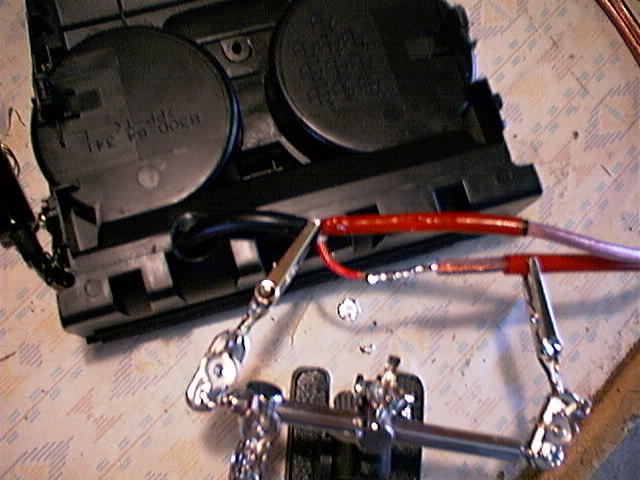
I pulled the short end of the cord through the hole and soldered in one end of a piece of lamp cord. Then I covered it with heat-shrink tubing and electric tape.

Click to embiggen
Next, I brought the cupholder panel back to the console where I spliced the other end of the lamp cord to the long end of the unit's power cord. This end got fastened with wire nuts, because soldering in the confined area between the front bucket seats would have been too much of a challenge.

Click to embiggen
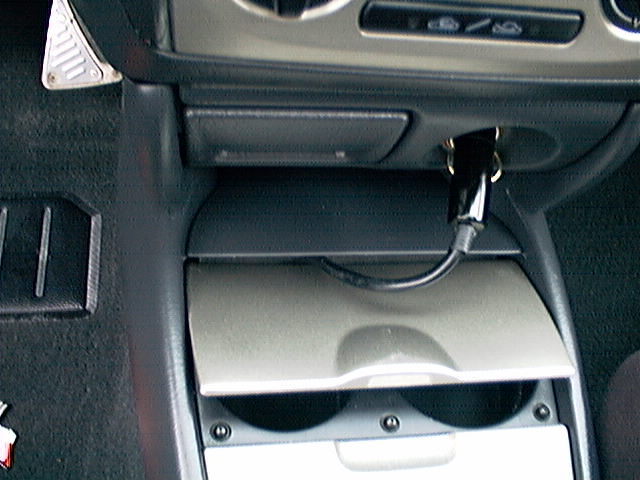
At this point, I replaced all the panels and pulled the plug end of the cord out from behind the cupholder. Since my goal was to minimize the permanent damage to the car, I did not consider wiring it directly into the car's power supply. I'll have to live with a short length of exposed cable and the minor inconvenience of plugging it into the cigarette lighter before using the adaptor.
Click to embiggen
The work was now complete on the front end, but I still had the unit itself dangling out of the back of the armrest console, and it needed attached. But that's on page 2.

