One-quarter scale dalek build log
If I had known it would take more than a year, I would have given it a miss.
04-OCT-2004
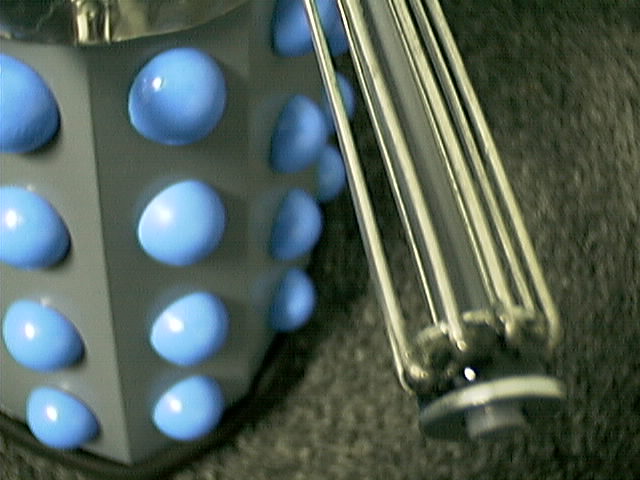
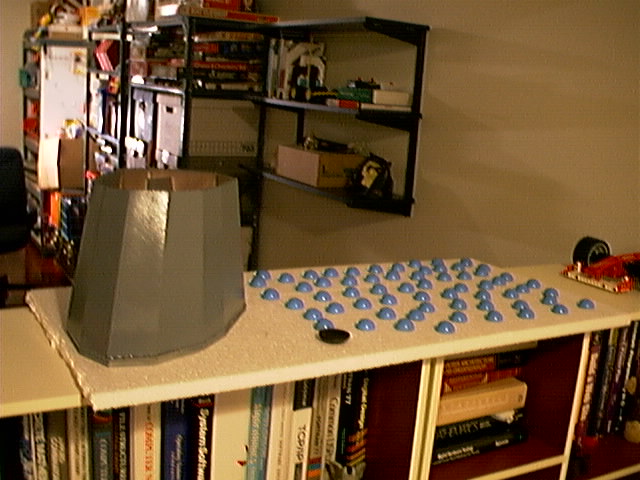
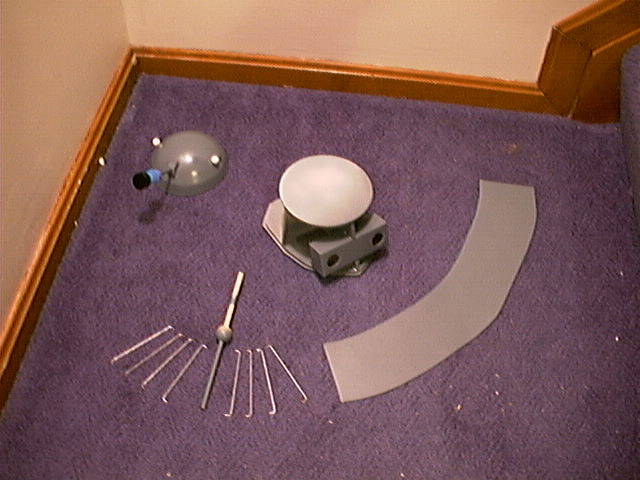
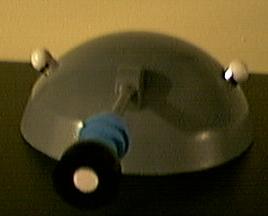
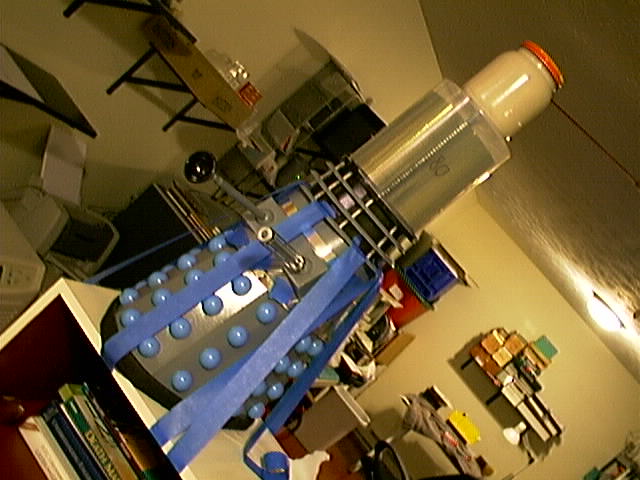
Dalek skirt, all its hemispheres (plus a few extras) and the "plunger" hand. (Plus Lego Ferrari to the right and nerd books below.) Note: that plunger hand was eventually discarded in favor of a better one.
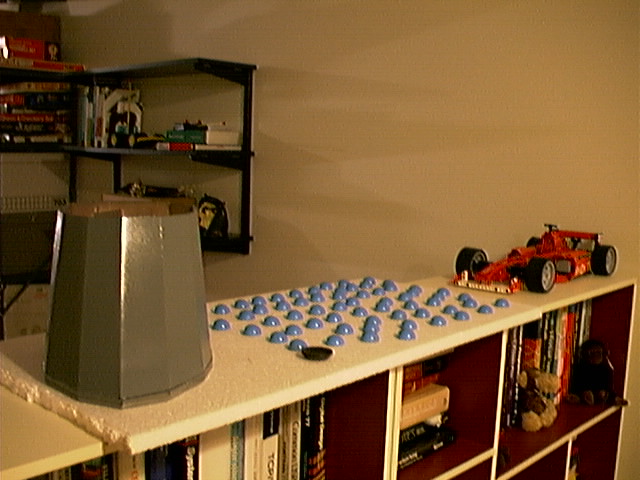
Another shot of the same junk.
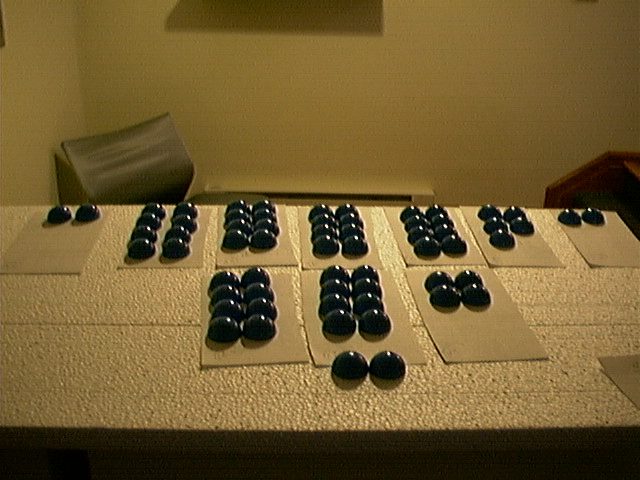
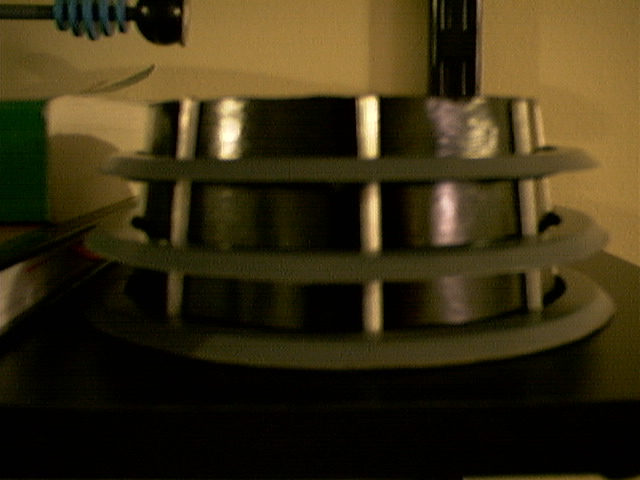
Hemis, sorted by thickness. Each stack is a half-millimeter different from its neighbors, with 12mm being the center stack.
05-OCT-2004
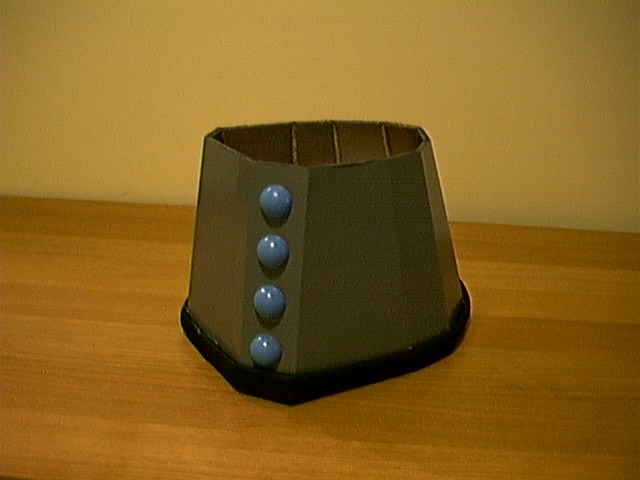
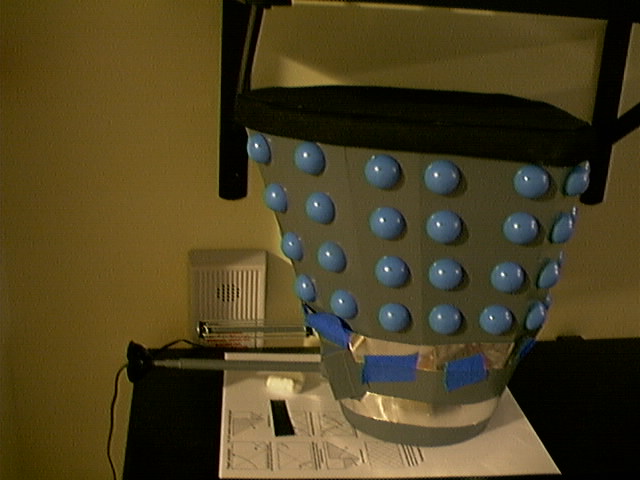
Black base added and one row of hemispheres in place.
24-OCT-2004
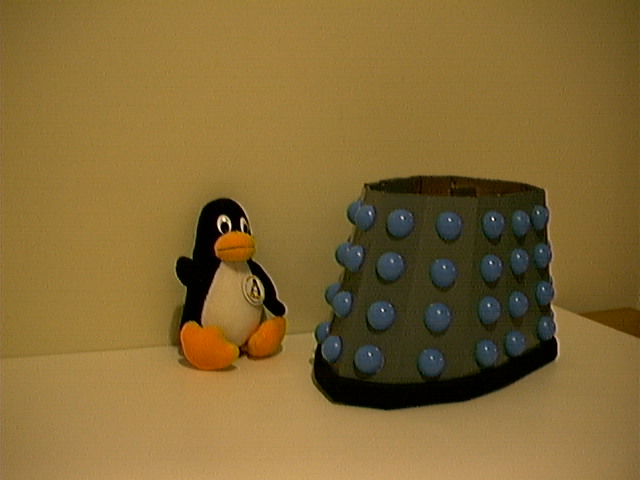
Tux is dwarfed by the completed skirt.
16-NOV-2004
Things have stalled. With the skirt complete, I'm out of rectilinear parts that need to be made.
I need to make the head, neck, and body. These are all unusual 3D shapes that can not be cut out of foam board. My current approach is to cast the pieces out of a plaster like substance by pouring it into a mold; however, this only transfers the problem. Instead of having a hard time making a head, I am having a hard time making a mold to pour the head into.
For the head, at least, I have found some styrofoam balls of almost the right size. I am experimenting with coatings that can be applied to make the surface smooth. The only problem with that is the surface will tend to show any imperfection at all.
Any suggestions?
Once the unusual shapes are made, I just need to do the arms, eye, and other fiddley bits.
19-JAN-2005
So I've been at this dalek thing almost four months now.
Here's a picture of some of the dalek heads I've made and the tools I've made them with.
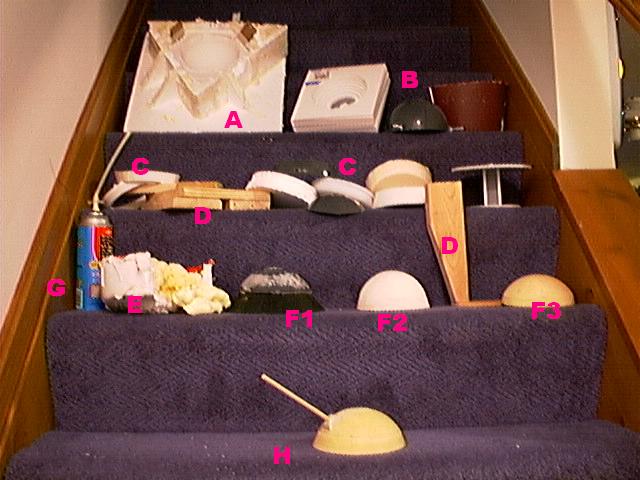
- (A) plaster mold, similar to the one that eventually succeeded
- (B) various failed molds
- (C) a variety of partial cone-shaped things
- (D) jigs for producing a bevel on the dalek head
- (E) plaster mold filled with expandy foam (G)
- (F1, F2, F3) failed heads
- (G) Great Stuff expanding foam
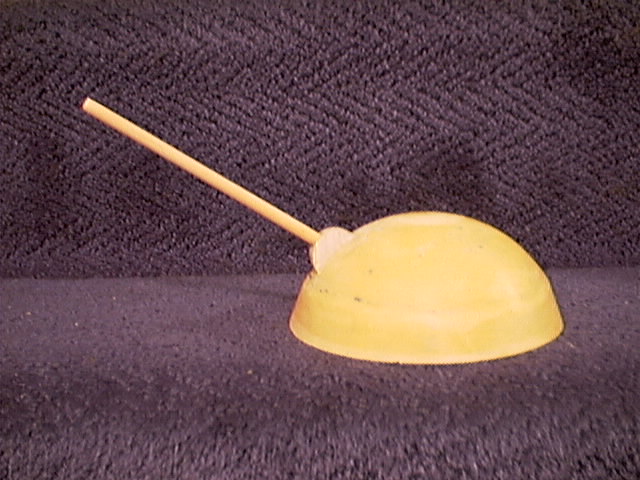
- (H) successful head (still needs work)
The initial idea was to produce a hemispherical head and then sand or grind off a bit toward the bottom to produce the classy bevel around the edge. That didn't work out too well, because it turns out to be quite difficult to sand or grind Durham's Rock Hard Water Putty.
The next idea was to produce a plaster mold exactly the right shape and then pour the water putty into it. That eventually worked. The mold was destroyed when I removed the head, but the prototype mold (A) is quite similar to the one I used. A styrofoam box was created, and cardboard rulers marked the depth along the edges. I suspended an inverted PVC dome (like the one next to the (B)) in the styrofoam box and poured plaster in it up to the proper mark on the cardboard. When it dried, I removed the dome and inserted a semi-conical section (like the one next to the (C)) and poured in more plaster, up to the proper mark on the cardboard. Then I was left with a plaster mold in the shape of a dalek head.
A similar plaster mold can be seen in (E), but instead of Durham's Rock Hard Water Putty, I filled it with Great Stuff expandy foam (G), thinking that it might result in a styrofoam-like shape. However, it was way too sticky and would not come out of the mold.
(F1) was my first attempt at a head. A portion of a PVC dome sits atop a rubber bevel, but not only is the bevel completely the wrong angle, the place where they meet is irreconcilably uneven.
(F2) is an all-styorfoam solution, painted with special paint designed to make styrofoam smooth. I ground the bevel using jigs similar to (D), and the top part is just a sliced sphere. However, it's the wrong diameter and looks bad.
(F3) is my first head made of Durham's Rock Hard Water Putty. I cast a hemisphere and attempted to slice off a bevel using a diamond-bladed tile cutting saw. However, it was impossible to get an even bevel.
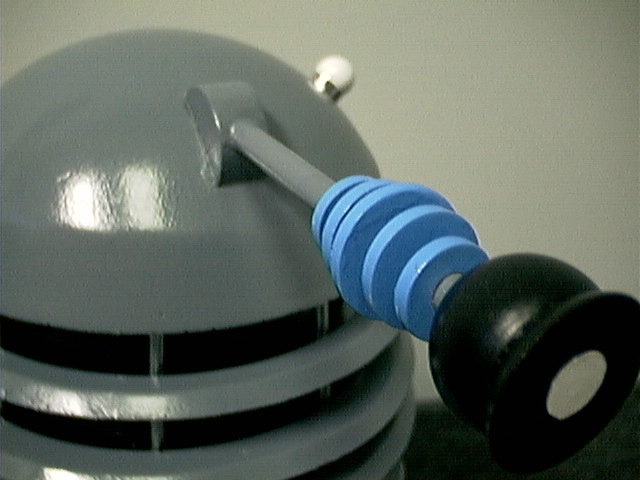
The final head is (H). It's not perfect, but I am satisfied with it. The eye stalk still needs some disks and the ball on the end. Then it'll get primed and painted. It also needs dome lights added.
19-SEP-2005
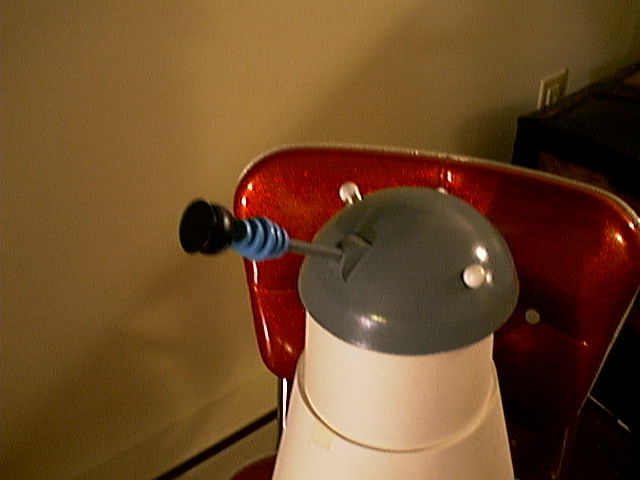
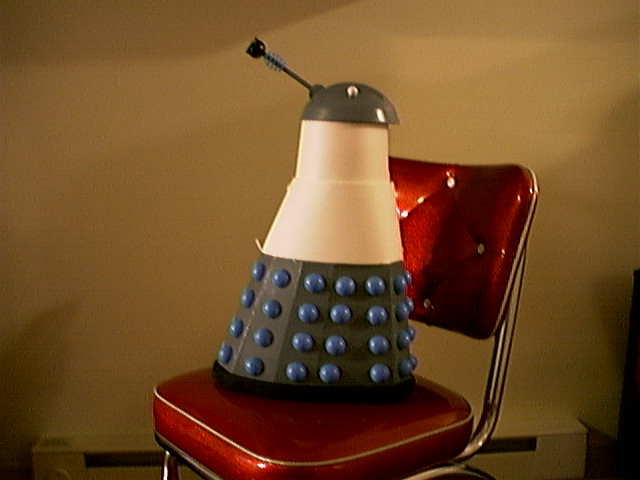
The head is complete.
The body and neck have skin.
This means the head and skirt are complete, and I have to finish the torso (including arms) and neck. The neck and torso segments have a lot of details, though, so it is likely to take some time.
02-NOV-2005
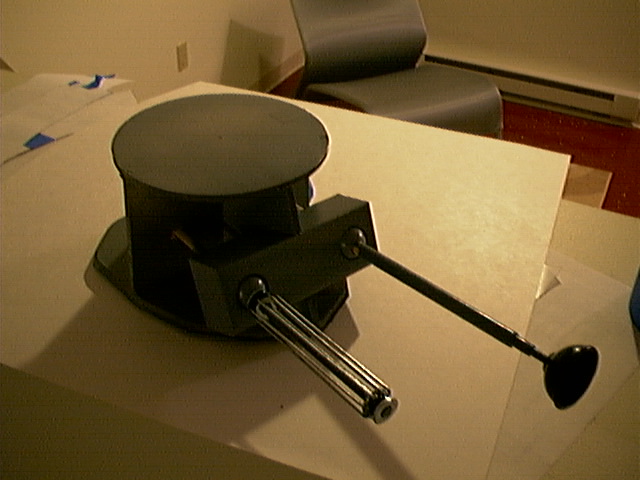
Got a lot of torso parts finished.

Painted them. Also pictured is the completed head and the eggbeater gun arm. Well, the eggbeater isn't constructed yet, but the arm is there and so are the wires that will comprise the eggbeater after I've shopped for a few more parts.
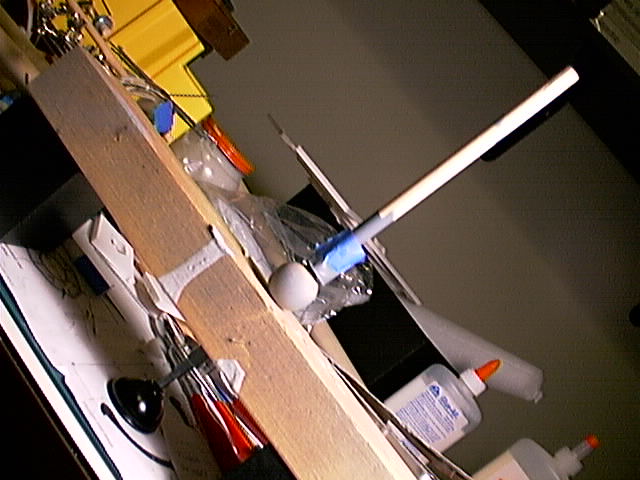
Here is the plunger arm in a rig that's holding it straight while the epoxy (holding the plunger onto the arm) sets.
09-NOV-2005
Here is the torso, with the arms in place but without skin.
I've also got the torso and neck skins cut and painted, although it looks like they might need another coat for good coverage.
Also, I was unsatisfied with the angle of the eye stalk. It was looking up into the sky, and I wanted it more in the typical horizontal position. Since the eyestalk was glued into the head, I've needed to saw it off. I'll have to figure out a way to glue it back on in the proper angle.
Left to do:
- Finish painting neck and torso skins
- Wrap neck and torso with painted skins; glue in place
- While wrapping torso in skin, assemble, position, and glue the arms
- Add neck struts to neck
- Cut neck rings
- Paint neck rings
- Install neck rings on neck
- Glue torso onto skirt
- Glue neck onto torso
- Reposition and glue eye stalk back on
- Add an "iris" to the eye ball
- Glue head onto neck
I think that's it. Most of those are pretty easy. The only tricky part left is to create the neck rings.
27-NOV-2005
I set the dalek up for a test fitting today. Here's what he looks like.
The white neck rings are for position only. They will be replaced by hardboard (like pegboard, but with no holes) rings that have a 45 degree bevel on the edges and are painted gray. As you can see, the rings are not perfectly spaced, so I will need to tweak the holders.
Other than that (and a few other cosmetic things), we are go for extermination!
Here is the new "what's left to do" list (I had forgotten one or two of these off the last list):
- Cut neck rings, including bevel
- Paint neck rings
- Adjust position of neck ring braces and install rings
- Add iris onto eyeball
- Add metallic trim bands around torso
- Final assembly of all components
Still on track for the end of the year.
18-DEC-2005
The dalek's eye got an iris!
And the neck got its rings.
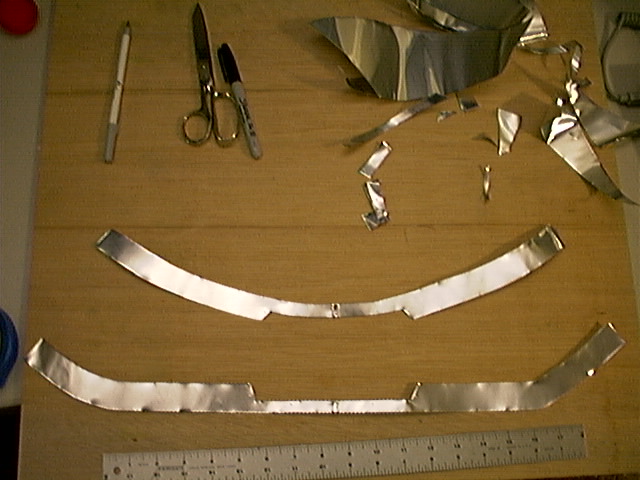
Cutting out the metal bands!!!!!
The dalek is temporarily inverted while the glue dries underbeneath the metal bands around the torso.
Next, the neck is glued to the torso. Weight is applied on top of the neck to help the glue set. The middle and top neck rings are glued to the neck, but the bottom one isn't. It is being glued to the top of the torso, so painter's tape holds it in place until the glue dries.
Just need to drop the head on there and do a final touch-up.
19-DEC-2005
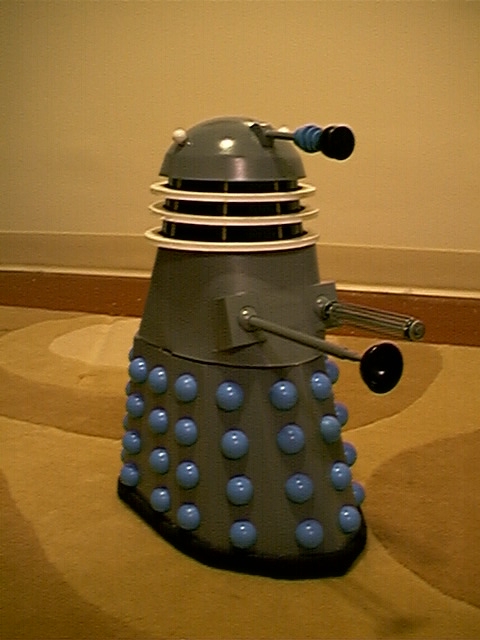
Well, it's done.
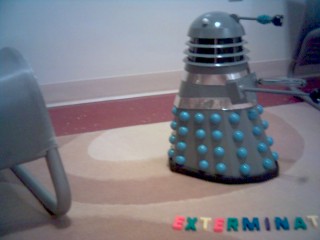
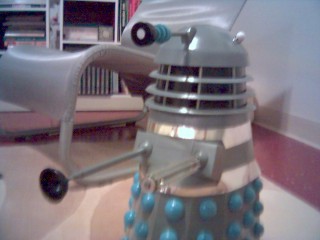
In an unfortunate twist of fate, the batteries in my (admittedly lame) digital camera died, and there were no replacements available. Therefore, the final pictures of the dalek are fuzzy digital camera photos.
In an even more unfortunate twist of fate, I'm not especially satisfied with the way this dalek turned out. There are a lot of small imperfections that add up to an overall unsatisfying product.
Maybe my next dalek will be more acceptable.
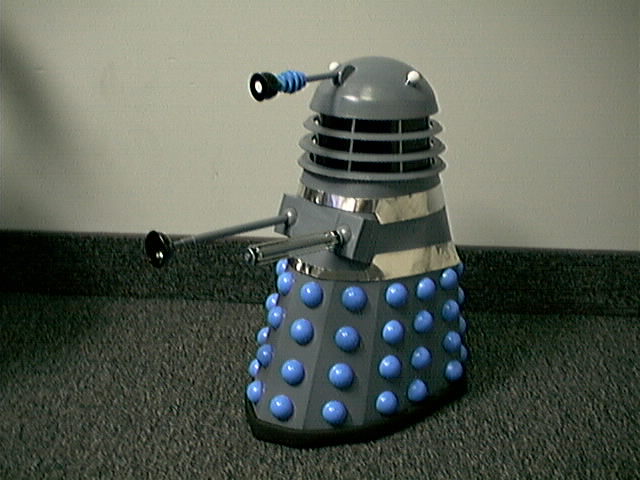
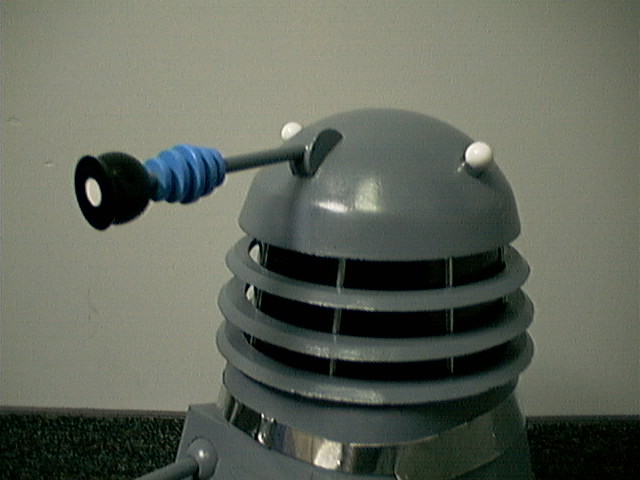
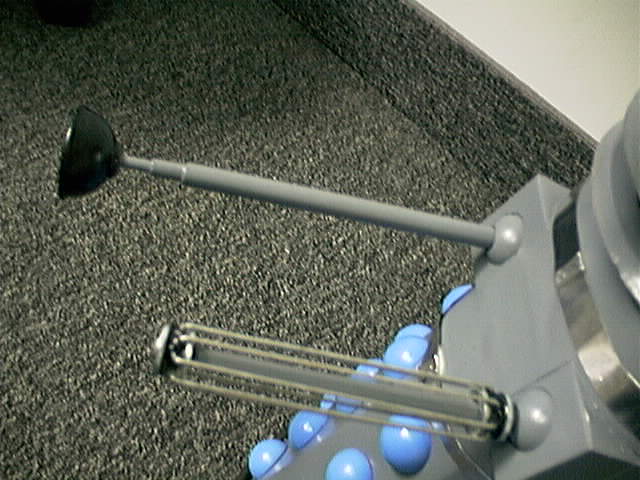
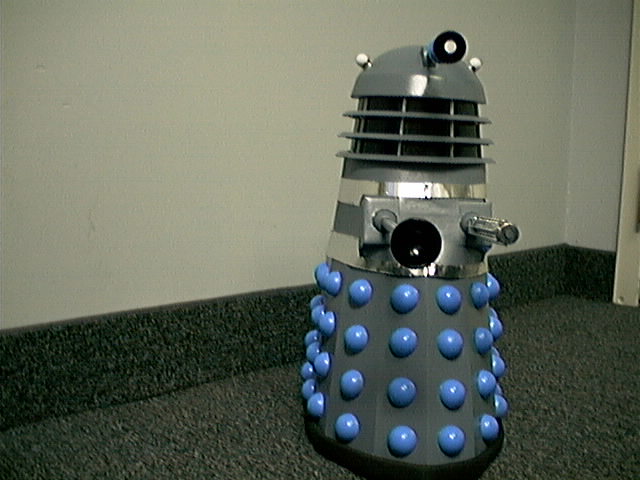
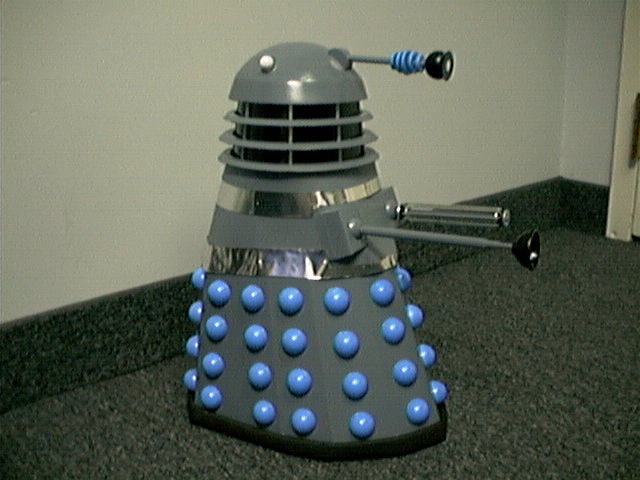
01-JAN-2006
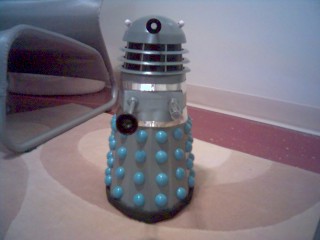
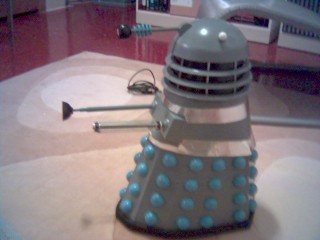
Better photos of completed dalek